Per Vertex Ambient Occlusion for Surface Nets Meshes
In this short blog post I will show you how I implemented fake per-vertex ambient occlusion in both cFlake engine and my current Unity procedural terrain generator. First of all, here are the results of the ambient occlusion map in these two implementations. For future reference AO refers to Ambient Occlusion. Too lazy to type it out :3
Small Showcase#
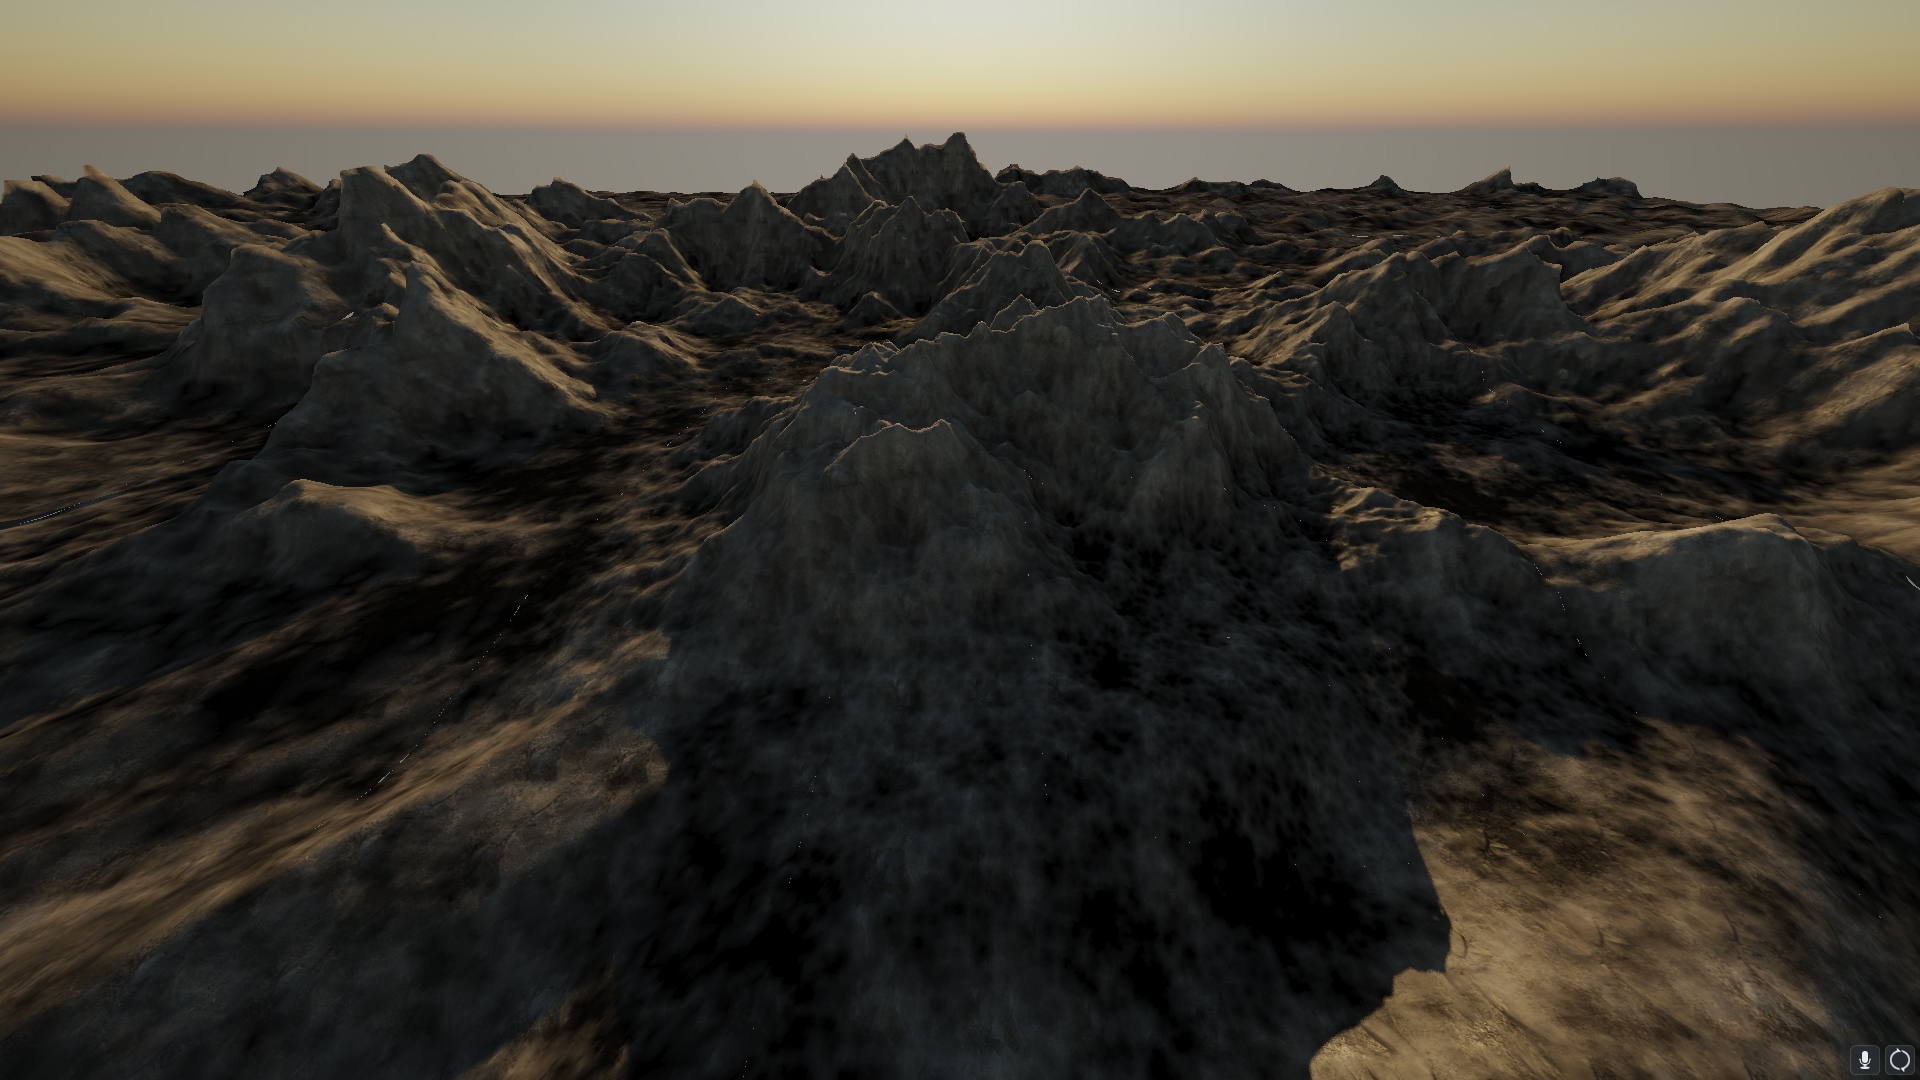
No AO 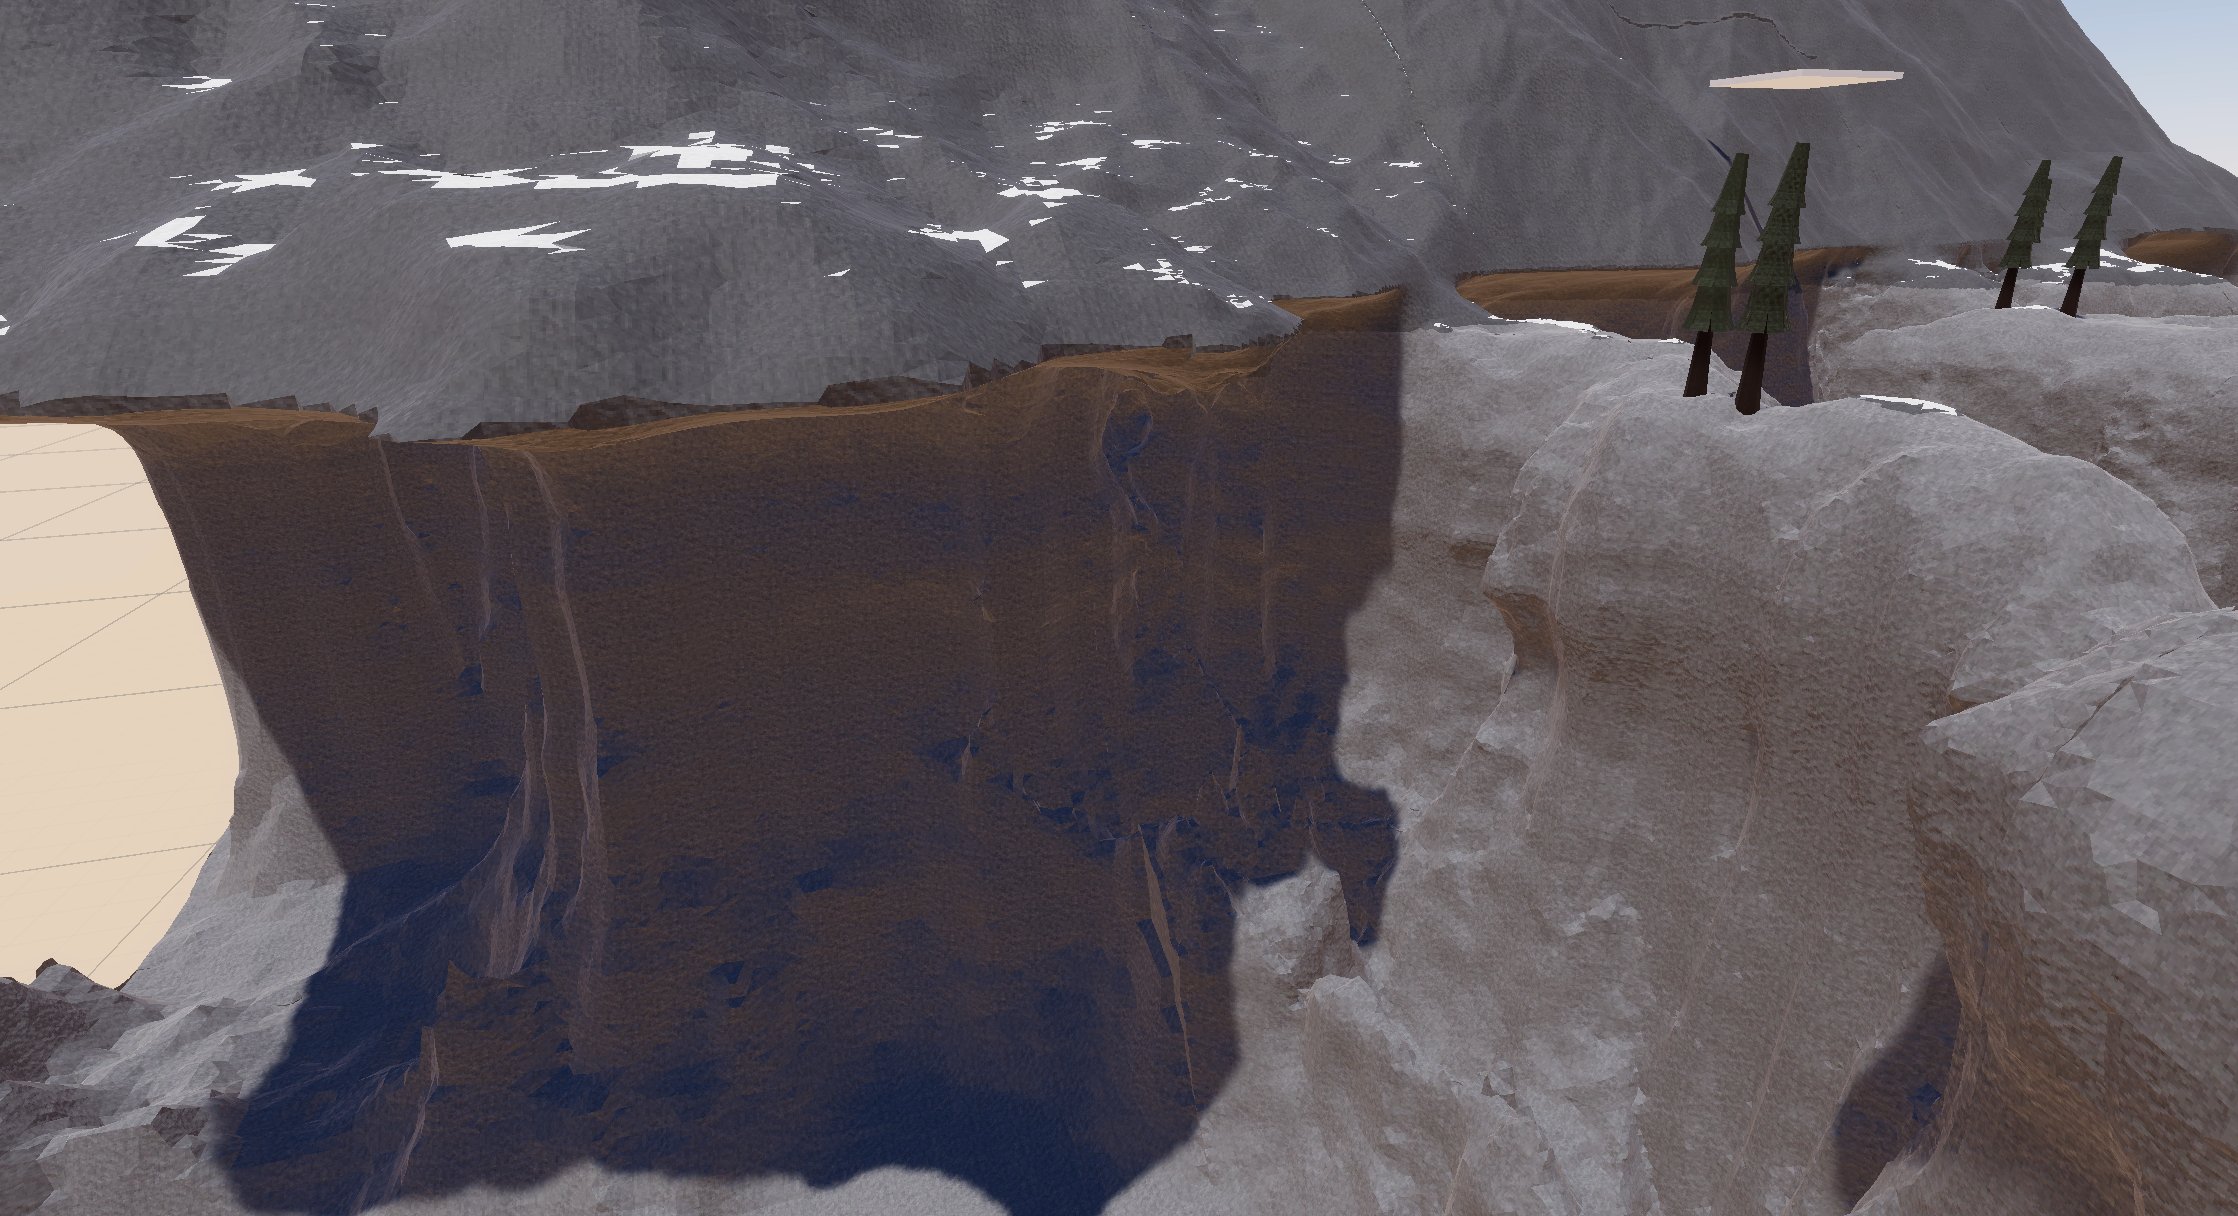
With AO. As you can see, the ambient occlusion adds quite a lot of depth to the terrain in low light situtations like in shadows. This effect is more pronounced in caves as well. It affects a much larger area of the terrain compared to screen space effects like SSAO, and it is pretty cheap to compute as well. 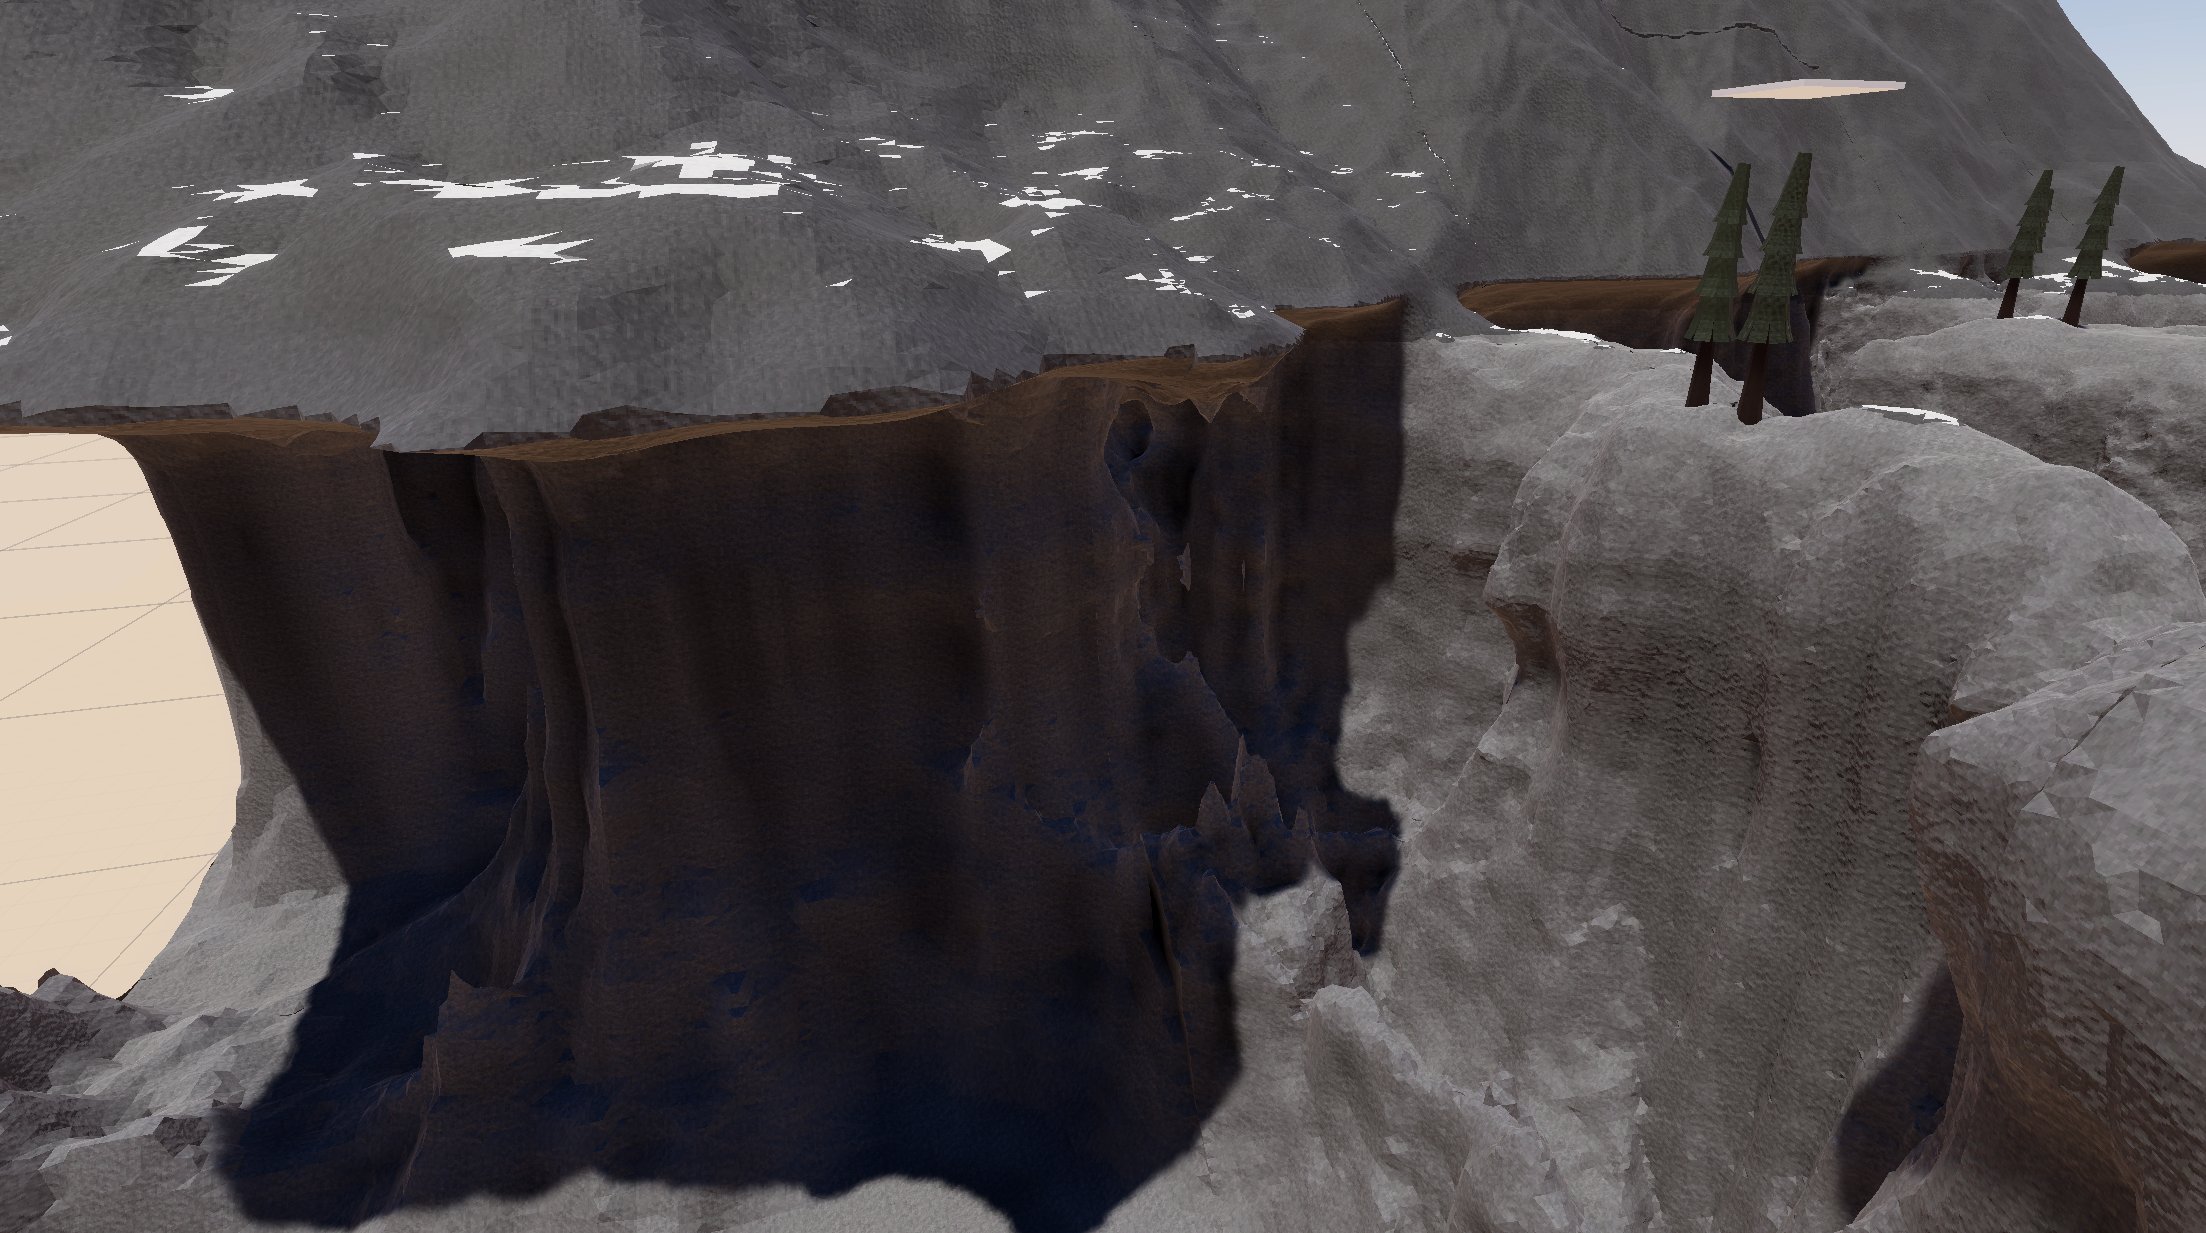
Implementation#
To implement such a system, you will first need a way to sample the density/isosurface function (the function I use to generate my procedural terrain using isosurface extraction algorithms) at any given point. This might be easy for some, but for me this was quite problematic as my procedural density generator is implemented on the GPU, and my voxel meshing is on the CPU. I will show you how I implemented it nonetheless)
cFlake GLSL Implementation#
This is the first time I experimented with this algorithm to even see if it would work out, and here's the code that I used to make it actually work. I calculate average ambient occlusio
// Get the density at a specific point (interpolated)
vec2
// Calculate per vertex ambient occlusion by sampling close voxels and checking their densities
float
As you can see, the algorithm in of itself is rather simple (and brute-forced). All I do is loop over a 3x3x3 region around the current vertex that I am about to generate and check how many density voxels are negative (marking terrain) vs how many density voxels are positive (marking air). Do note that you fetchLinear is a function implemented to get me the density function at any given floating point (not necessarily grid points) (trilinear sampling) using a per-chunk cached density map, which means that this algorithm does not read voxel data from nearby chunks which makes it easily parallelizable.
AO debug view in cFlake 
For example this is how it looked like before implementing the fetchLinear. You can clearly see the banding that occurs due to the fixed grid 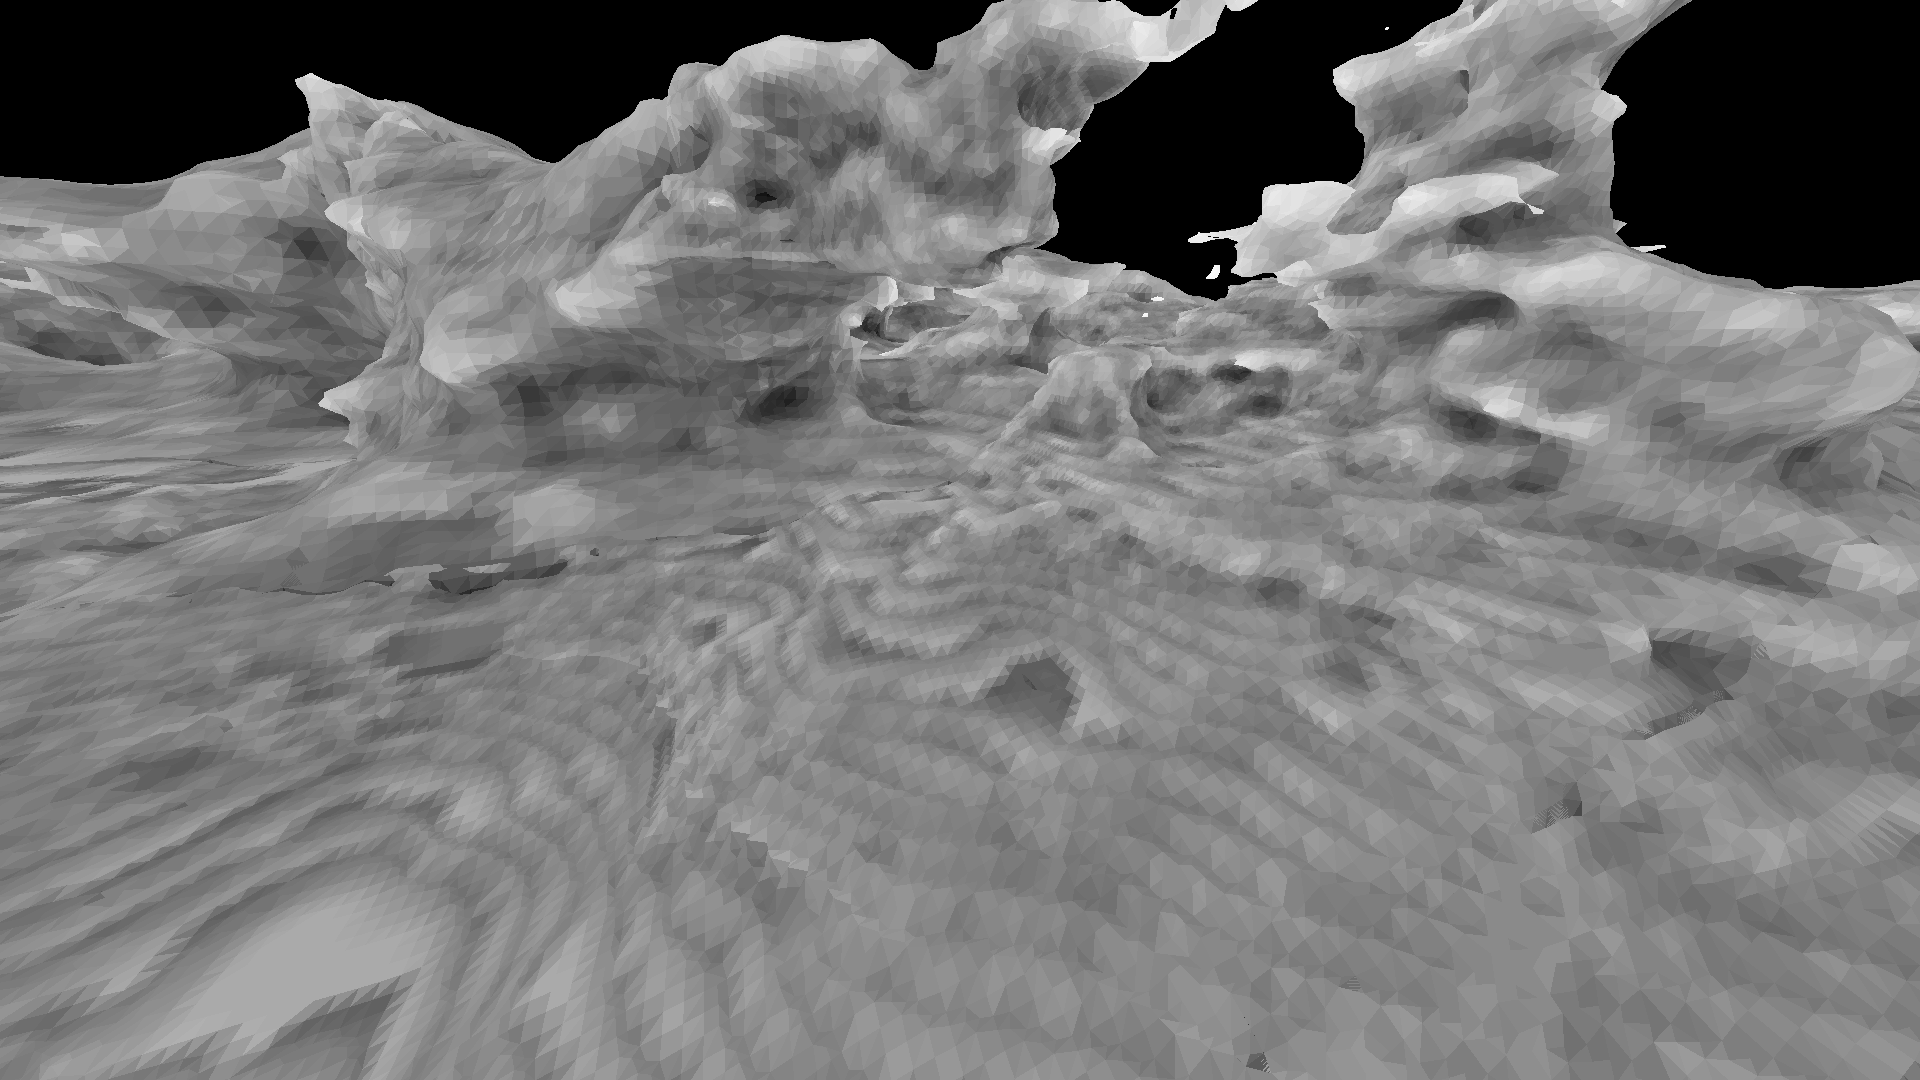
Unity Job System Implementation#
The Unity implementation is not that different, just implemented on the CPU instead using Unity's Job System. I also made this one a bit prettier by applying a curve to the final AO and make it scale with the density of the fetched voxels, which reduces the blocky-ness effect that you get from using Surface Nets or Dual Contouring.
// Calculate the normals at a specific position
public static float3
// Calculate ambient occlusion around a specific point
public static float {
float ao = 0.0f;
float minimum = 200000;
for
ao = ao / ;
ao = math.;
return ao;
}
Here's a better picture of the AO in action in blocky unity terrain 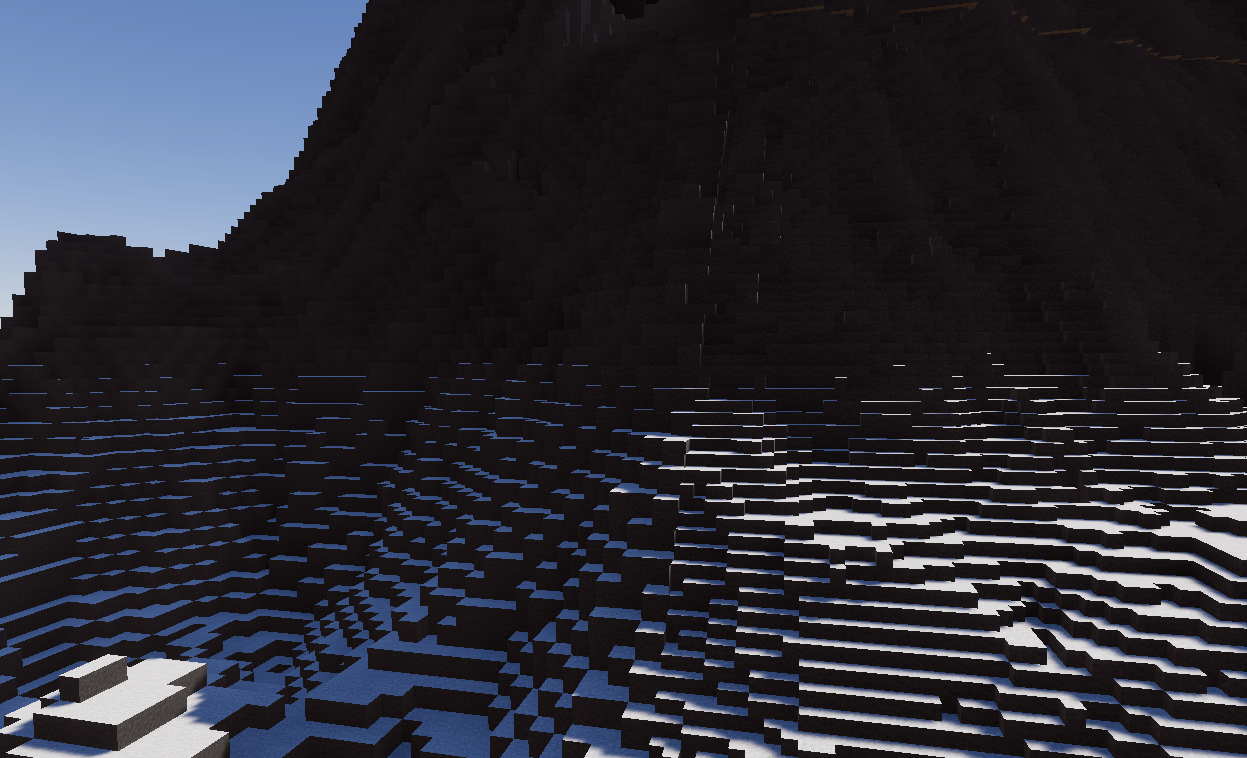
Conclusion#
Overall it's a pretty cheap algorithm that enhances the quality fidelty of the terrain without too much work. I personally consider that a success. Here are other demos showcasing this effect
Side Note#
I did notice through my testing and experimentation with my engine that sometimes using the density function itself (or at least part of it) would yield some pretty cool results. Never managed to make use of it for AO but it looks kinda similar and cool enough so here you go. Maybe this could be extended to yield some new results, maybe. It was pretty cool though.